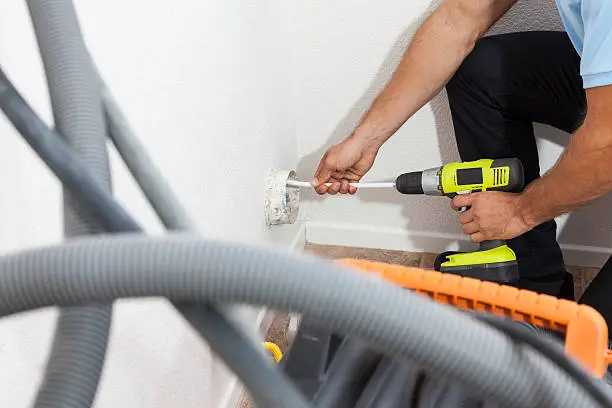
How to inspect and clean dryer vents | Complete Guide
- Jeff Hendricks

- Aug 8, 2025
- 3 min read
Keeping your dryer running smoothly, efficiently, and—most importantly—safely isn’t just about tossing in clothes and pressing start. No, it demands regular, thorough attention to one often overlooked part: the dryer vent. These vents, responsible for channeling hot, moist air from your dryer to the outside world, quietly accumulate lint and debris over time. This buildup isn’t just an inconvenience—it chokes airflow, drags out drying times, inflates your energy bills, and, in worst cases, poses a serious fire risk. This comprehensive guide dives deep into how you can inspect and clean your dryer vents properly, safeguarding your appliance’s performance and your home’s safety.

Why You Can’t Ignore Dryer Vent Cleaning and Inspection
Imagine your dryer struggling, gasping for air as lint clogs the vent, suffocating the airflow it needs to function efficiently. The dryer fights harder and harder, leading to faster wear and tear and energy waste that hits your wallet. But beyond inefficiency lies danger: lint is notoriously flammable. A clogged vent is a top culprit behind house fires linked to dryers. Regular vent inspection and cleaning aren’t just chores—they’re essential to prevent hazards, cut down drying times, and keep your electricity bills in check.
Step 1: Inspecting Your Dryer Vents — What to Do First
First things first: safety is paramount. Unplug your dryer before touching anything. Don’t skip this.
Head outside to locate the vent outlet. Observe the vent flap or screen—does it swing open freely when the dryer runs? Any lint or debris stuck here is a warning sign. Next, pull the dryer away from the wall to disconnect the vent hose. Shine a flashlight inside. Look closely for lint buildup or any damage. Don’t forget the ductwork, especially if it snakes through walls or ceilings—crushed or kinked sections can silently sabotage airflow.
Step 2: Cleaning Your Dryer Vents — Getting Into the Nooks and Crannies
Start simple: always clean the lint trap inside your dryer after each load. This tiny step stops excess lint from piling up downstream. For the vent hose and ducts, grab a dryer vent brush or a vacuum with a narrow attachment. Push the brush deep inside the hose, twisting it to shake loose stubborn lint. Outside, clear the vent flap and remove any debris blocking airflow.
If you spot cracked or crushed hoses, don’t hesitate—swap them out for rigid or semi-rigid metal ducts. These materials resist lint accumulation better and keep air flowing safer and smoother.
Pro Tips: Keeping Dryer Vents in Top Shape
Experts recommend scheduling professional dryer vent cleaning and inspection at least once a year, especially if you use your dryer often. Avoid plastic or foil hoses—these traps for lint can seriously increase fire risk. Instead, opt for metal ducts, installed with as few bends as possible to boost airflow efficiency.
Watch for red flags: if drying takes longer than usual, if your dryer feels hotter than normal, or if you catch a burning smell, it’s time to act. These symptoms often point to vent blockages that need immediate clearing.
Routine dryer vent inspection and cleaning might seem tedious, but the payoff is huge. You’ll enjoy faster drying, lower energy bills, and—above all—the peace of mind that your home is protected from preventable fire hazards. Follow this guide, stay vigilant, and your dryer will thank you with years of safe, efficient performance.


Comments